
In the last post, i was writing about taking Azure Virtual Machines disk snapshots, and why it’s not a good idea to replace backups with snapshots. For today’s post, i’ll write about how to easily and quickly take backups from the Azure Backup service, using the Azure CLI.
Prerequisites
- Azure subscription
- Azure VM
Create a backup vault
Step 1. Open Terminal and sign in:
az login
It will open a new window using the default browser, where you will be prompted for email and password.
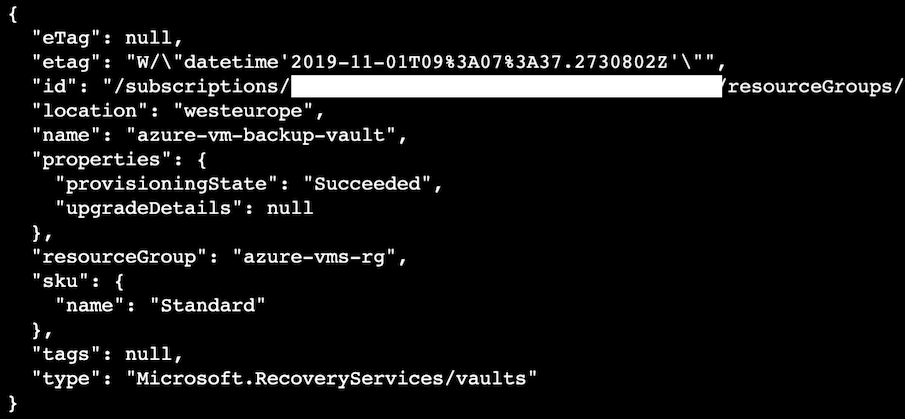
Step 2. First, we need a vault, where we’ll be storing the backups. Create a vault using the command:
az backup vault create --name "azure-vm-backup-vault" --resource-group "azure-vms-rg" --location westeurope
Example json output:
Step 3. Confirm the vault’s creation by listing vaults in the resource group:
az backup vault list --resource-group "azure-vms-rg" --output table

Enable and take a backup
Step 4. Enable Azure VM’s backup:
az backup protection enable-for-vm --policy-name "DefaultPolicy" --vault-name "azure-vm-backup-vault" --resource-group "azure-vms-rg" --vm "<azure_vm_name>"
Check the status property in the json output:

Step 5. Now, take a backup:
az backup protection backup-now --vault-name "azure-vm-backup-vault" --container-name "web-server-1" --item-name "web-server-1" --resource-group "azure-vms-rg" --retain-until 31-12-2019
Step 6. Check the backup status:
az backup job list --vault-name "azure-vm-backup-vault" --resource-group "azure-vms-rg" --output table
Example json output:

Cleanup
Step 7. Disable the backup protection:
az backup protection disable --vault-name "azure-vm-backup-vault" --container-name "web-server-1" --item-name "web-server-1" --resource-group "azure-vms-rg" --delete-backup-data true
Step 8. Remove the resource group including the backup vault:
az group delete --name "azure-vms-rg"
Feel free to leave a comment below and if you find this tutorial useful, follow our official channel on telegram.